YAAAAAYYY! Finally, the release day of
The Elite is upon us!!! To commemorate this important day of awesome awesomeness, I made two tiaras for Emily and I based on the design on the cover of the book. Here is a photo tutorial!
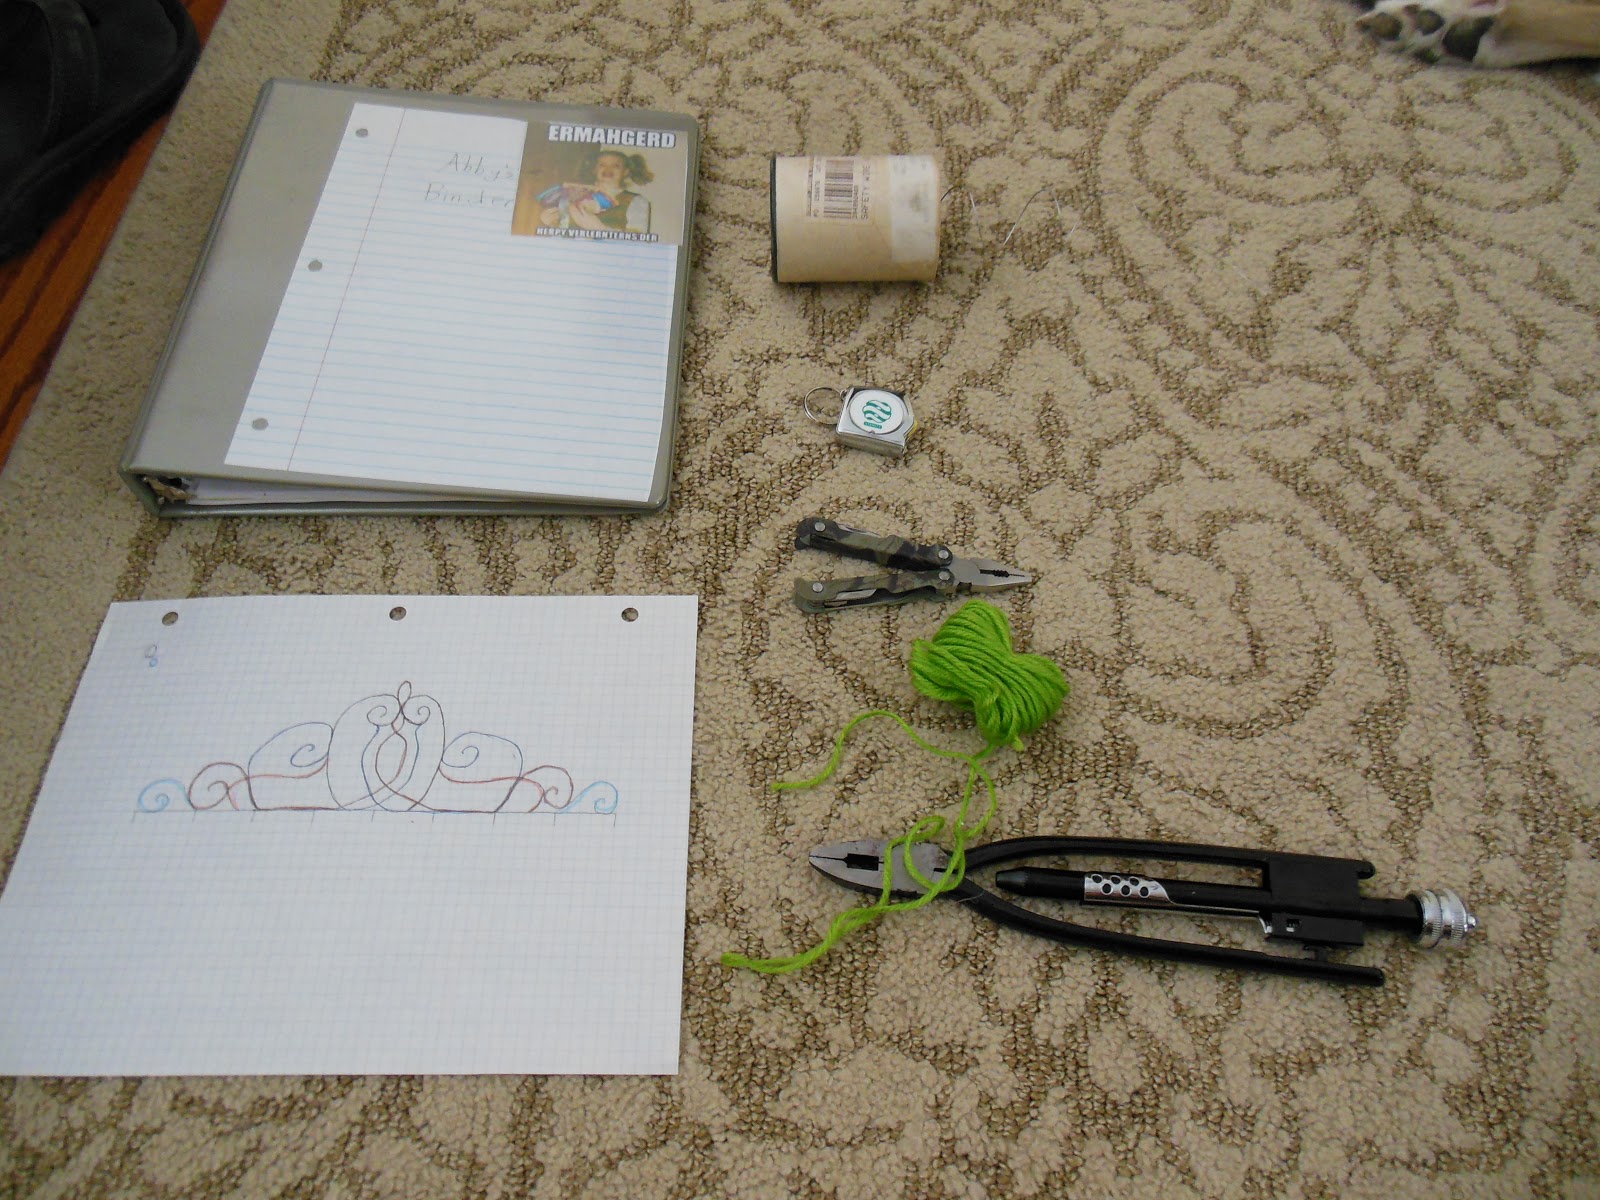
Step One: I gathered my supplies. For this project, I used a binder (as a surface to work on since I was watching "Doctor Who"), safety wire (.032 in.), measuring tape, my awesome multi tool (for the pliers), yarn, safety wire pliers, glue gun (not shown), and floral wire (also not shown). I also sketched out a scale pattern on graph paper of the tiara I made.
Step Two: I aligned the yarn to the piece of tiara I needed to make. Then I measured the yarn to find out how much safety wire I needed to cut. I added about 1/2 inch more so the piece could connect to the base.
Step Three: After I used my multi tool to bend the piece into the shape I needed, I held it up to the pattern I sketched. If it fit the pattern, I moved on to the next piece. Continue this until you have all the pieces for your tiara.
Step Four: First, I put painter's tape sticky side up on my desk to form a sticky sheet. Then, I just stuck the wire pieces on it in the pattern I needed. Don't forget the long headband wire! I had to tape some of the pieces down because they kept sticking up or shifting. I also added a sheet of notebook paper folded in half to keep any excess glue off my desk. Then, I glued the base. Now all your pieces will be together and once the glue is dry, you can just peel the tape off and you'll have the overall shape.
Step Five: After you are done with step four, the tiara is flat and looks awesome except one thing- the glue looks really obvious and, well, just nasty! To fix this, I took the floral wire and I wrapped it around the glue tightly. Make sure you are threading it through the right opening in the tiara. This step takes the longest, but it's worth it!
Step Six: Now all you need to do is paint over that green floral wire! I also curled the ends of the headband wire for comfort and grip.
I hope this gave you some ideas! :)


No comments:
Post a Comment